Authentication and Authorisation with Azure Active Directory in NodeJS+React
I seek out simple and scalable solutions to various challenges with tech
Introduction
- I work in an enterprise environment, Yes
- I use the Microsoft, Azure platform, Yes
- I work in the line of application development, Yes
- I use recent technologies like NodeJS, React, Yes
Do you check out up to 3 of the above? Then this is most likely for you.
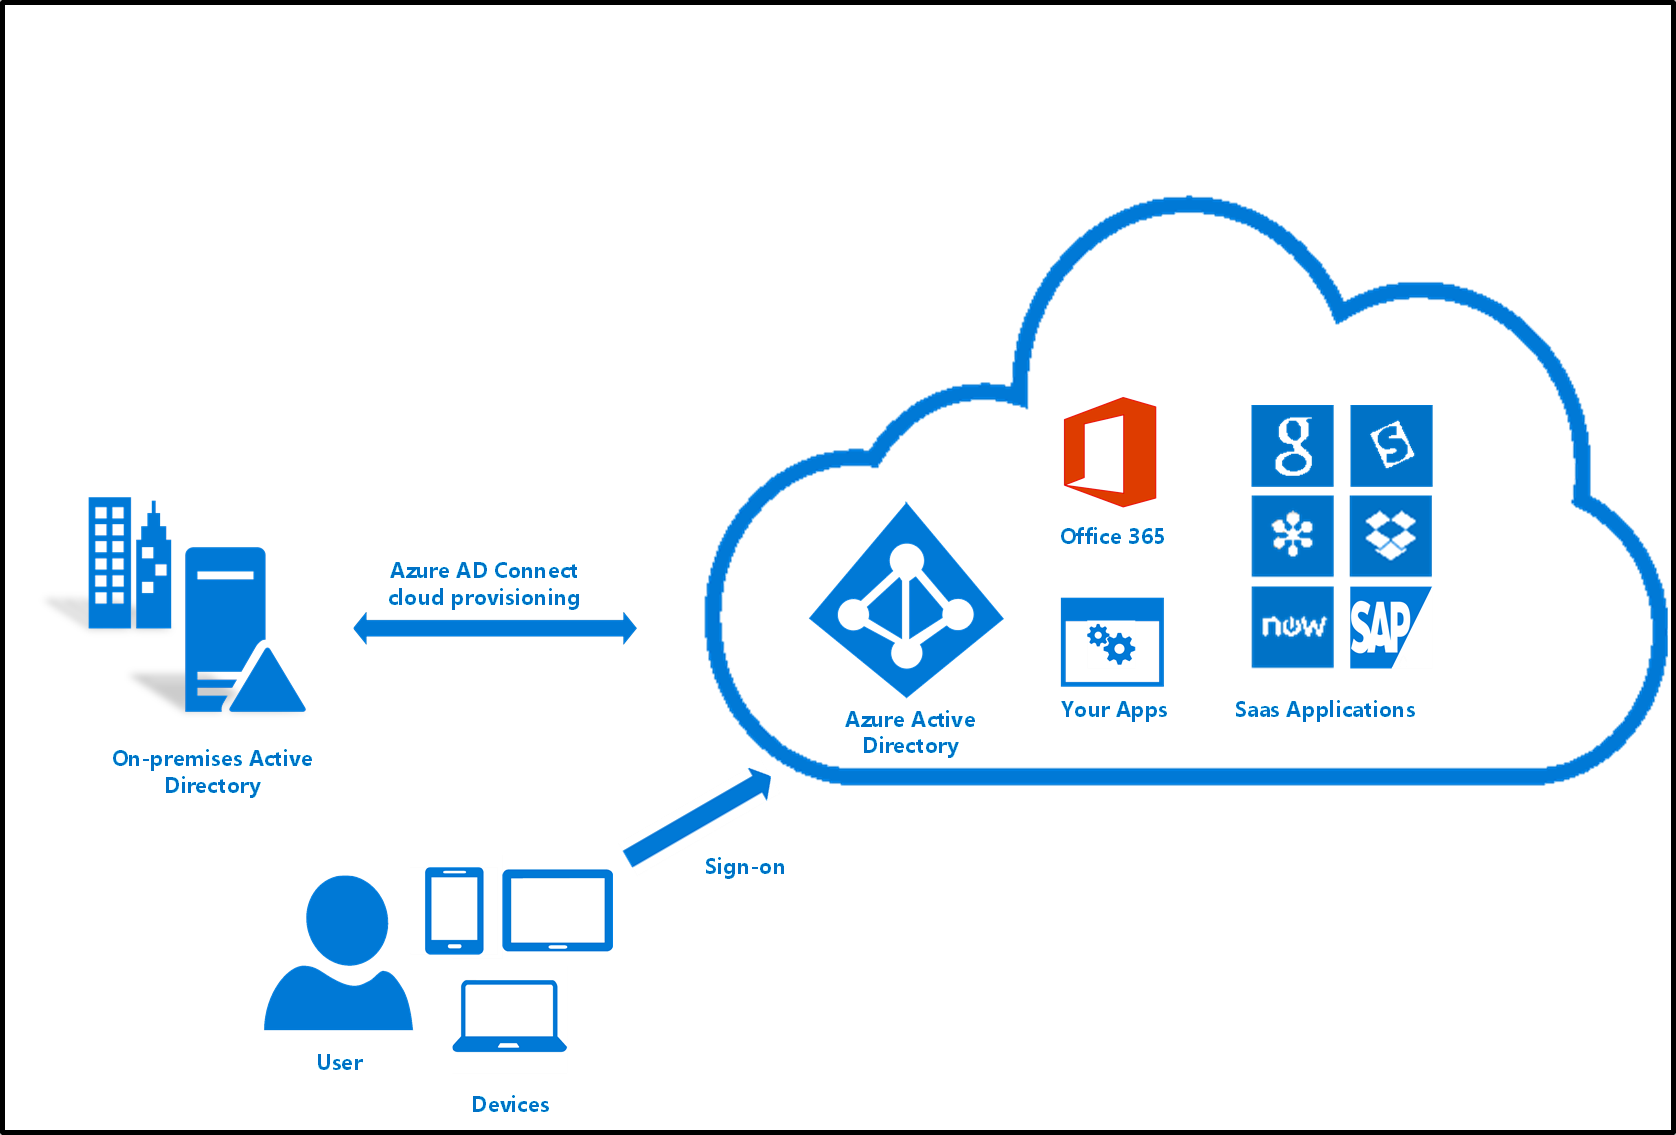
TL;DR: Azure AD offers cloud-based multi-tenant identity as a service. It offers a single sign-on experience with advanced capabilities such as multi-factor authentication, self-service password reset, privileged identity management, role-based access control, application usage monitoring, auditing and security monitoring and alerting. It is commonly found as the point of entry to most self-service applications in enterprise organisations. As with most enterprise tools and APIs, sifting through the documentation for straight to the point answers on implementation can be a hassle. This post gives a direct hammer on the nail steps to setup and usage.
The following assumptions are being made:
- You have an existing Active Directory setup
- You know your way around the Azure portal
- You are familiar with Node/ ExpressJS and javascript, typescript
- You have an SPA frontend application
Azure Setup
The first step in this setup is app registration. Head over to portal.azure.com and search for app registrations. You would be presented with a page like this on selecting app registration.

Click on new registration and specify the following details:
- User facing name: "Name of your app"
- Supported account types: This specifies user groups who can access your application
- Single-tenant: Allows only accounts in your organizational directory // We would be choosing this for this setup
- Multitenant: Allows accounts in any organizational directory
- Multitenant and personal Microsoft accounts
- Redirect URI: URI that would be called after successful authentication. Also used as an access restriction as would be seen later

Authentication setup
On your app registration page, head over to the authentication menu.
- On the loaded page, select +Add a platform and select the single page application. To complete this process, specify your redirect uri. To allow redirection to any page on your app, specify only the hostname e.g. http://localhost:3000/
Still on the authentication page, select the Access tokens and ID Tokens checkboxes under the implicit grant.
Save your setup.
API Permissions setup
- Head over to the Expose an API and select +Add a scope
- An Application ID URI would already be specified. Hence, select Save and continue
- A scope page would be presented, fill in the following details:
- Scope Name: a code accessible string you can use e.g. "Files.Read", "User.Access"
- Who can consent: Admins and Users would be most suitable except authentication would be restricted to only admins of the app.
- Admin consent display name: A user-readable name describing the permission being required. e.g. "Read user files", "Allow User access to App"
- Admin consent description: Description of the permission being granted above
- User consent display name: Same as above for admin but for ordinary users
- User consent description: Same as above for admin but for ordinary users
- Save after specification of above
- Still on the Expose an API menu, select +Add a client application
- Tick the authorised scopes, enter in your client ID (Can be obtained from the overview menu) and save.
- Head over to the API Permissions menu and select +Add a permission
- On the displayed page, select My APIs and select your created application
- Select Delegated permissions and on select permissions, tick the permissions you have created and save
- As an extra step, you can head over to the Branding menu and specify details about your app.
NodeJS App Integration
Fire up your terminal as we install some libraries
~/ $ npm install -s passport passport-azure-ad
As a personal style of development, we would be using a class written as a service/middleware to set up the authorization bit.
authorization.js
const passport = require('passport');
const OIDCBearerStrategy = require('passport-azure-ad').BearerStrategy;

const azureAD = {
  identityMetadata: 'https://login.microsoftonline.com/<TENANT_GUID>/.well-known/openid-configuration', // Replace <TENANT_GUID> with Directory (tenant) ID from your app registration overview page
  clientID: 'AD_CLIENT_ID', // Replace AD_CLIENT_ID with Application (client) ID from your app registration overview page
  audience: 'api://<AD_CLIENT_ID>', // Replace AD_CLIENT_ID with Application (client) ID from your app registration overview page
  scope: ['SCOPE'], // Replace with the Scope Name set up in the Expose API menu e.g. "Files.Read"
  loggingNoPII: false,
  loggingLevel: 'info'
};

class Authorization {
  constructor(router) {
    router.use(passport.initialize());

    const bearerStrategy = new OIDCBearerStrategy(
      azureAD,
      (token, done) => {
        done(null, token);
      }
    );
    passport.use(bearerStrategy);

    this.passportAuth = passport.authenticate('oauth-bearer', {
      failureRedirect: '/api/access-error', // Replace with an endpoint which can be used to display an error page or JSON error message
      session: false
    });
  }

  setup() {
    return this.passportAuth;
  }

  authenticate(req, res, next) {
    // Perform any extra authorization steps here. Authenticated user object can be accessed via req.user

    // if (req.user['scp'].toLowerCase().indexOf('files.read') >= 0) {
    //   console.log('Invalid Scope, 403');
    //   return res.status(403).send({ message: 'You are not authorised to access this application' });
    // }

    return next();
  }
}

module.exports = Authorization;
To apply this middleware to a route resource group, simply do as seen below:
const router = require('express').Router();

const Auth = require('../middlewares/Authorization'); // Import the Authorization.js middleware

// Instantiate authorization middleware
const auth = new Auth(router);

// Apply middleware
router.use(auth.setup(), auth.authenticate);

// Specify routes
router.use('/', (req, res) => {
  res.send({
    message: 'You have successfully reached an authenticated resource'
  });
});
router.use('/api/access-error', (req, res) => {
  res.status(403).send({
    message: 'You are not authorized to access this resource'
  });
});

module.exports = router;
That's it!!! You got an Azure AD protected NodeJS API
Frontend Integration
We would start off again with the installation of some NPM packages
~/ $ npm install -s msal
Taking a service-based approach, we would be creating an authorization.ts file which would abstract the AD authentication logic.
import { UserAgentApplication, Configuration } from 'msal';

export default class Auth {
  private myMSALObj: UserAgentApplication;
  private reqData = {
    scopes: ['api://REPLACE_WITH_CLIENT_ID/REPLACE_WITH_SCOPE'] // Replace with Client ID and the Scope Name set up in the Expose API menu e.g. "api://a23a278a792-2a424-c242b/Files.Read"
  };

  constructor() {
    // Config object to be passed to Msal on creation
    const msalConfig: Configuration = {
      auth: {
        clientId: 'REPLACE_WITH_CLIENT_ID',
        authority: 'https://login.microsoftonline.com/REPLACE_WITH_TENANT_GUID'
      },
      cache: {
        cacheLocation: 'sessionStorage' as any,
        storeAuthStateInCookie: true
      }
    };

    this.myMSALObj = new UserAgentApplication(msalConfig);

    this.myMSALObj.handleRedirectCallback(() => {});
  }

  private signin() {
    try {
      this.myMSALObj.loginRedirect(this.reqData);
    } catch (error) {
      throw error;
    }
  }

  public async signout() {
    this.myMSALObj.logout();
  }

  public async retrieveToken() {
    try {
      const tokenResponse: any = await this.myMSALObj
        .acquireTokenSilent(this.reqData)
        .catch(() => false);

      if (!tokenResponse) {
        this.signin();
        return;
      }

      return tokenResponse.accessToken;
    } catch (error) {
      throw error;
    }
  }
}
To use this service, import it into your app like import Auth from './authorization.ts. Two key methods which are accessible and would be used are retrieveToken() and signout().
On the first time load of the app i.e. unauthenticated request, make a call to retrieveToken() to get a token for requests to your backend. If the user isn't logged in, the service would redirect to the Microsoft login page for the tenant and after successful authentication, redirects back to your app. With this, subsequent calls to retrieveToken() would return an access token which would be used for requests to your backend.
To make an authenticated request to your backend, add the following header
Authorization: Bearer ACCESS_TOKEN_OBTAINED_FROM_REQUEST_TOKEN
If you made it down here, you are most likely all setup 😅.
Leave comments below on any issues, happy to help!
Get managed hosting and database for your NodeJS, Python, Go applications and more. SQL and NoSQL databases all included under one plan. Start for free today! https://zhap.cloud


